There’s nothing quite like the taste of homemade miso. In this article, we’ll guide you through the process of making miso from scratch, incorporating insights from microbiology. Ready to start your fermentation journey?
Ingredients for Miso Making
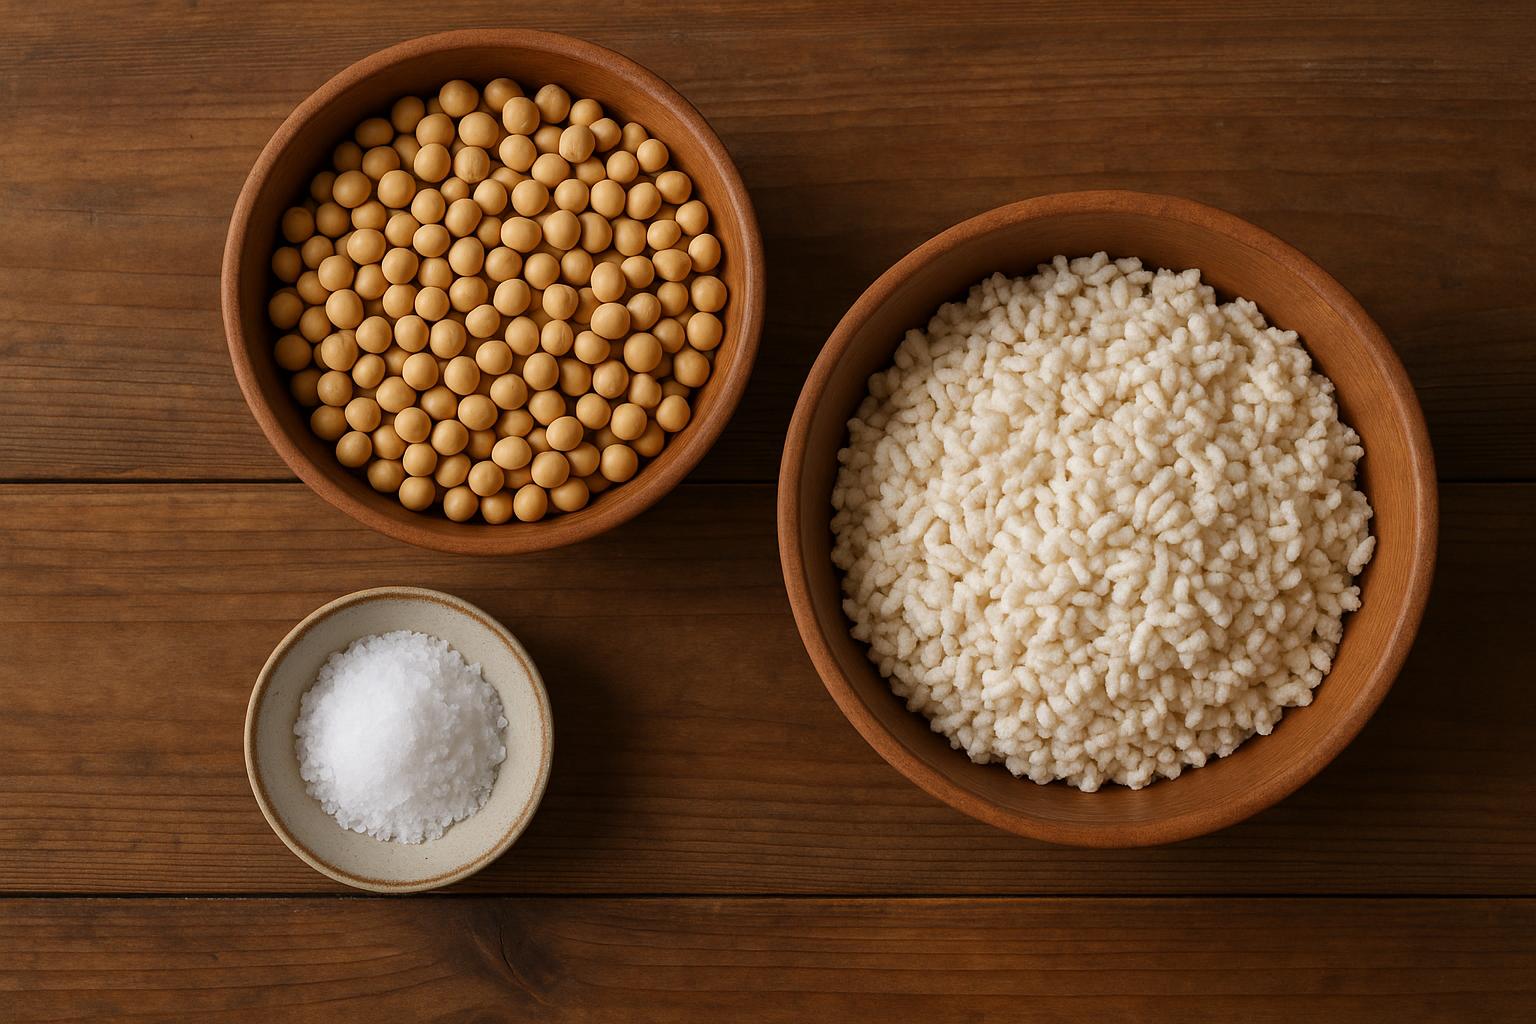
Miso requires just three simple ingredients. The quality of these ingredients significantly affects the final product.
Basic Ingredients (Makes approximately 2kg)
•Soybeans: 500g (dried)
•Rice Koji: 500g
•Salt: 200g (20% of soybeans + koji)
Golden Ratio
An easy-to-remember ratio is “soybeans : koji = 1:1” and “salt = 20% of soybeans + koji.” Following this ratio ensures delicious miso, even for first-timers.
Choosing Your Ingredients
Soybeans: Opt for large, non-GMO soybeans, preferably organic.
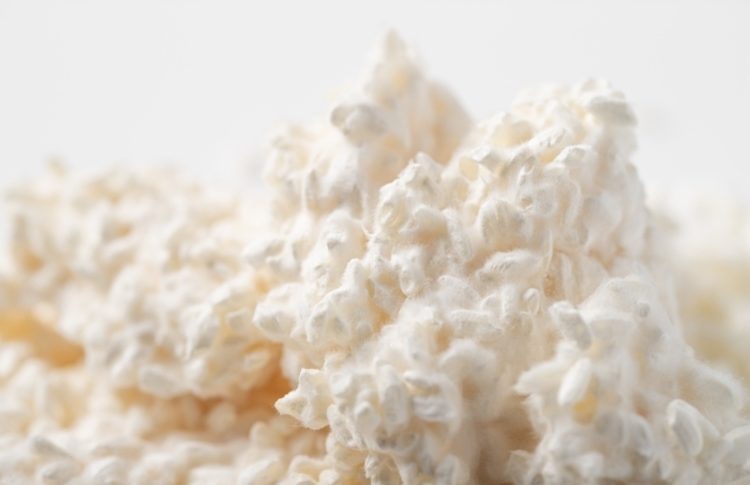
Rice Koji: Fresh koji (nama-koji) is ideal, but dried koji works well too. Look for koji with active Aspergillus oryzae cultures.
Salt: Natural sea salt is recommended for its mineral content and enhanced flavor, though refined salt can also be used.
Step-by-Step Miso Making Process
Step 1: Soak the Soybeans (Day Before)
Rinse the soybeans thoroughly and soak them in plenty of water. Soybeans absorb water and expand to about 2.5 times their original size, so use a large container.
Soaking Time: Minimum 12 hours, ideally 18-24 hours
Step 2: Cook the Soybeans (3-4 hours)
Cook the soaked soybeans in plenty of water until very soft. A pressure cooker can significantly reduce cooking time.
Doneness Test: The beans should be soft enough to mash easily between your fingers
Important Tip
Save the cooking liquid! You’ll use it later to adjust the miso’s consistency.
Step 3: Mash the Soybeans
Mash the cooked soybeans while they’re still hot. You can use a potato masher, food processor, or simply place them in a thick plastic bag and mash by hand.
Step 4: Mix Salt with Koji (Shiokiri)
In a bowl, thoroughly mix the rice koji with salt. This process, called “shiokiri” (salt-cutting), ensures even salt distribution throughout the koji.
Step 5: Combine Soybeans and Koji
Once the mashed soybeans have cooled to body temperature (around 40°C/104°F or below), mix them with the salted koji.
Consistency Adjustment: The mixture should have an earlobe-like softness. If too firm, gradually add some reserved cooking liquid.

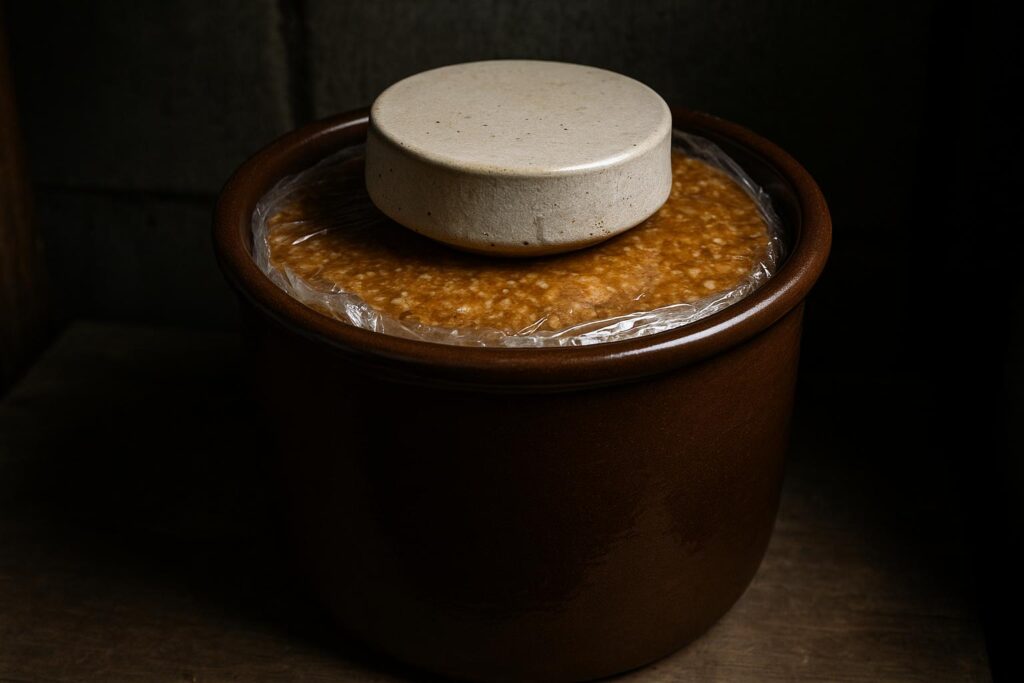
Step 6: Form Miso Balls and Pack into Container
Form the miso mixture into baseball-sized balls and throw them into your fermentation container. This technique removes air pockets and helps prevent mold growth.
Once all the miso is packed, smooth the surface and press plastic wrap directly onto it to create an airtight seal.
Step 7: Weight and Store
Place a weight (10-20% of the miso’s weight) on top of the plastic wrap, cover with a lid, and store in a cool, dark place.
Storage Location: Keep away from direct sunlight in a location with minimal temperature fluctuation (ideally 15-25°C/59-77°F)
Fermentation Period and Aging
Miso fermentation takes time. Patience is key!
The Fermentation Mechanism
Miso fermentation is primarily driven by enzymes produced by Aspergillus oryzae (koji mold):
1.Protein Breakdown: Soybean proteins are broken down into amino acids, creating umami
2.Starch Conversion: Rice starches are converted to sugars, adding sweetness
3.Color Development: Maillard reactions gradually turn the miso brown
Aging Timeline
•Summer Batch (started in June): Ready in 3-6 months
•Winter Batch (started in January-February): Ready in 6-12 months
Higher temperatures accelerate fermentation, but slower aging develops better flavor complexity.
Managing the Fermentation
Tench-gaeshi (Optional Stirring)
After 3-6 months, you can perform “tenchi-gaeshi” (heaven-earth return) by stirring the miso from top to bottom. This promotes even fermentation, though it’s not essential.
Mold Prevention
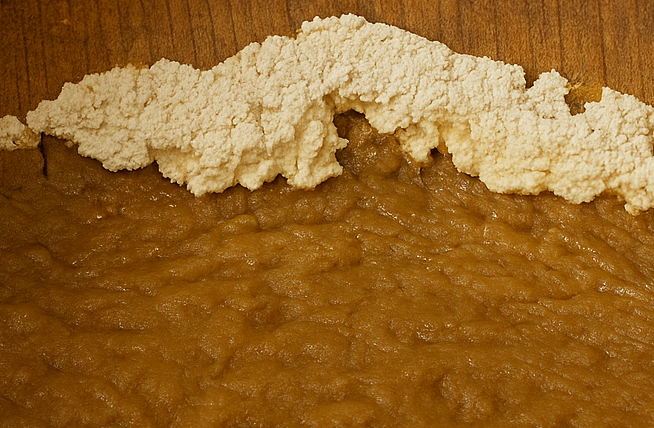
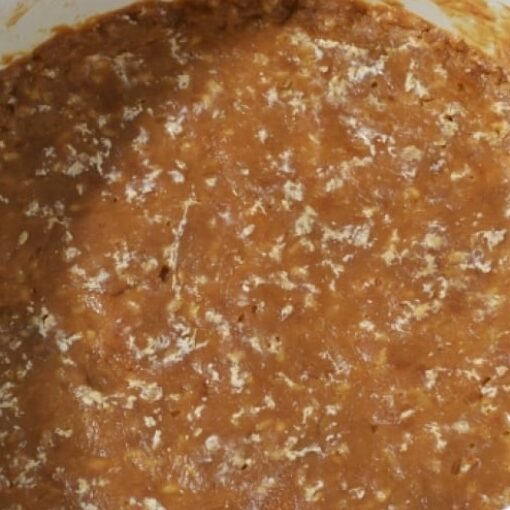
Sometimes white substances may appear on the surface of miso during fermentation.
It is important to distinguish whether it is film yeast or mold.
How to Identify White Substances on Miso
- Film yeast
A white yeast that may appear on the surface of miso during fermentation.
It sometimes forms a three-dimensional layer, but unlike mold it is not fluffy.
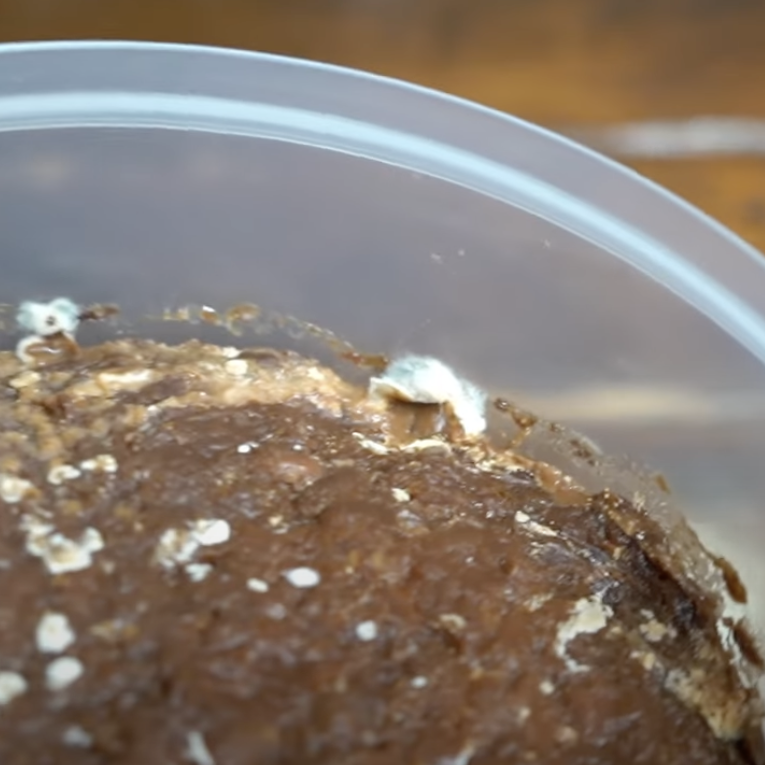
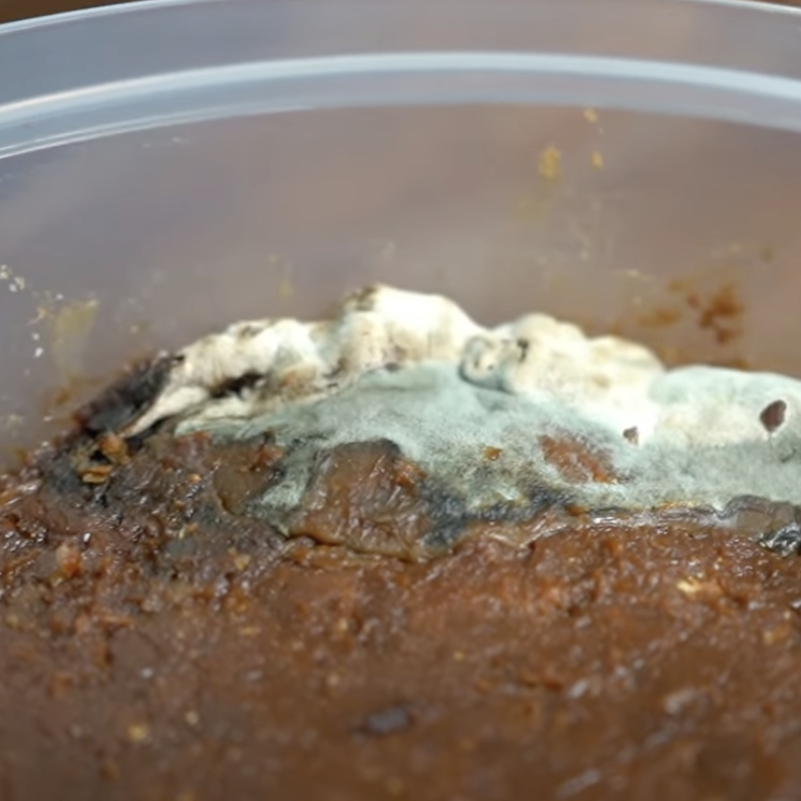
- Mold
Mold appears in various colors such as blue, green, or black, and grows fluffy and three-dimensional.
Unlike surface yeast, mold develops deep hyphae (roots) that penetrate into the miso.
Therefore, when removing it, you should scrape away not only the visible mold but also the surrounding miso.
- Tyrosine crystals
Small white spots with a rough texture sometimes found in miso are tyrosine, an amino acid crystallized from soybean protein during maturation.
This is a natural by-product of fermentation, not harmful, and safe to eat.
Mold Prevention Tips
•It is usually removed because it negatively affects the flavor.
•Wipe the container’s interior with alcohol
•Sprinkle a thin layer of salt on the surface
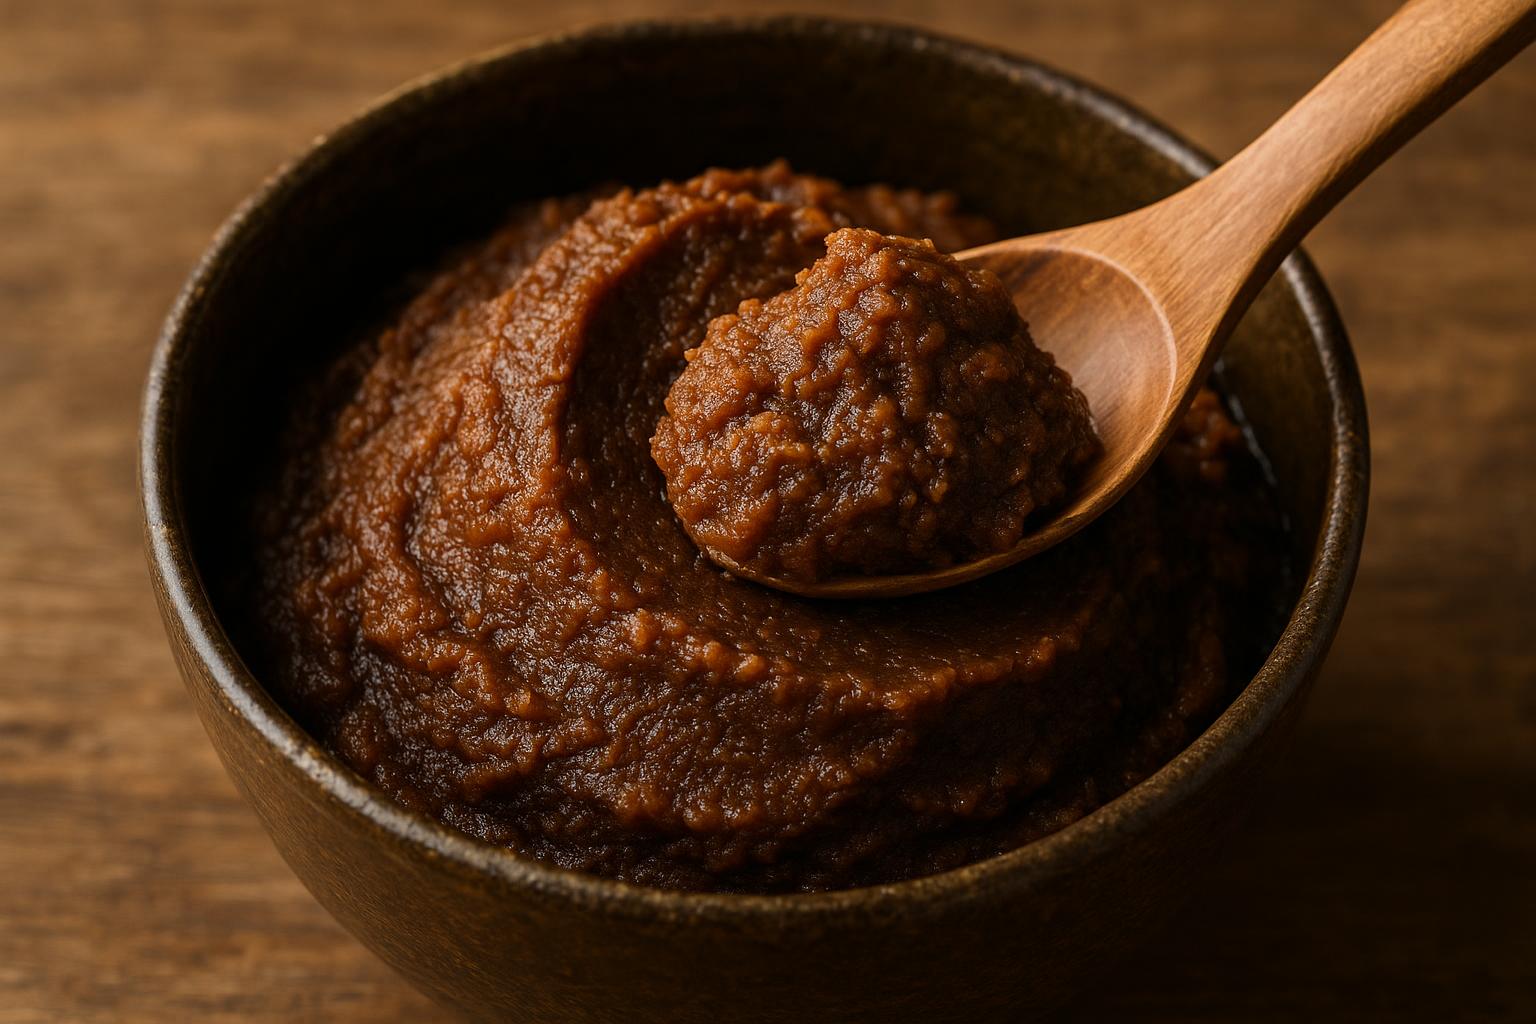
How to Tell When It’s Ready
Your miso is ready when:
•The color has turned deep brown
•It has a characteristic miso aroma
•It tastes delicious!
Once ready, store in the refrigerator to slow fermentation and preserve flavor.
Enjoying Your Homemade Miso
Miso Soup
The classic use! Miso soup made with your own miso has incomparable depth and flavor.
Miso Pickles
Pickle vegetables, meat, or fish in miso. Fermentation enhances umami and creates complex flavors.
Miso Dip
Mix miso with mayonnaise or sesame paste for a delicious vegetable dip.
Conclusion
Miso making is a simple fermentation project requiring just three ingredients:
•The golden ratio is soybeans : koji : salt = 1:1:0.2
•Cook soybeans until soft, then mix with koji
•Age for 3-12 months
•Koji enzymes create umami through fermentation
Homemade miso offers flavors and satisfaction that store-bought versions simply can’t match. Give it a try!
Related Articles
•Types of Miso and How to Use Them: Red Miso vs. White Miso
References
•Kusumoto, K. I., et al. (2021). Japanese Traditional Miso and Koji Making. Journal of Fungi, 7(7), 579.
•Allwood, J. G., et al. (2021). Fermentation and the microbial community of Japanese koji and miso. Journal of Food Science, 86(6), 2194-2207.