Are you thinking, “I want to start nukadoko, but it seems difficult” or “Daily stirring sounds like a lot of work”? Actually, once you understand how microorganisms work, anyone can easily manage nukadoko.
In this article, a microbiology expert explains everything from how to make nukadoko to daily management and troubleshooting, all based on scientific evidence. Once you learn how to work harmoniously with the microorganisms in your nukadoko, you’ll be able to enjoy delicious nukazuke (rice bran pickles) every day.
What is Nukadoko? The Fermentation World Created by Microorganisms
Nukadoko is a fermentation bed made by mixing rice bran (nuka), salt, and water. Within it, microorganisms such as lactic acid bacteria and yeasts work actively, transforming vegetables into delicious nukazuke.
The Work of Lactic Acid Bacteria and Yeasts
The stars of nukadoko are lactic acid bacteria. Lactic acid bacteria break down sugars in vegetables to produce lactic acid, creating the characteristic sourness and umami of nukazuke. Yeasts also play an important role, enriching the aroma and flavor.
Nukadoko is said to harbor over 100 species of microorganisms coexisting together. These microorganisms maintain a complex balance while creating delicious nukazuke.
My Nukadoko Failure Story
When I first made nukadoko, I forgot to stir it daily, and something white like mold appeared on the surface… But this was kahm yeast, which is harmless. After removing it and adding salt, it quickly returned to normal. It’s important to start without fearing failure.
Health Benefits of Nukazuke
Nukazuke offers the following health benefits:
- Improved gut health from lactic acid bacteria: Live lactic acid bacteria reach the intestines and increase beneficial bacteria
- Increased B vitamins: Vitamin B1 can increase more than 10-fold during fermentation
- Rich in dietary fiber: Dietary fiber from rice bran aids intestinal function
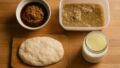
How to Make Nukadoko: Starting with 3 Ingredients
Making nukadoko is much simpler than you think. All you need are three ingredients: rice bran, salt, and water. Even first-timers can succeed by following these steps.
Required Materials and Tools
Ingredients (for approximately 3L container)
- Rice bran (nuka): 1kg (2.2 lbs)
- Natural salt: 130g (13% of rice bran weight)
- Water: approximately 1.2L (5 cups)
Tools
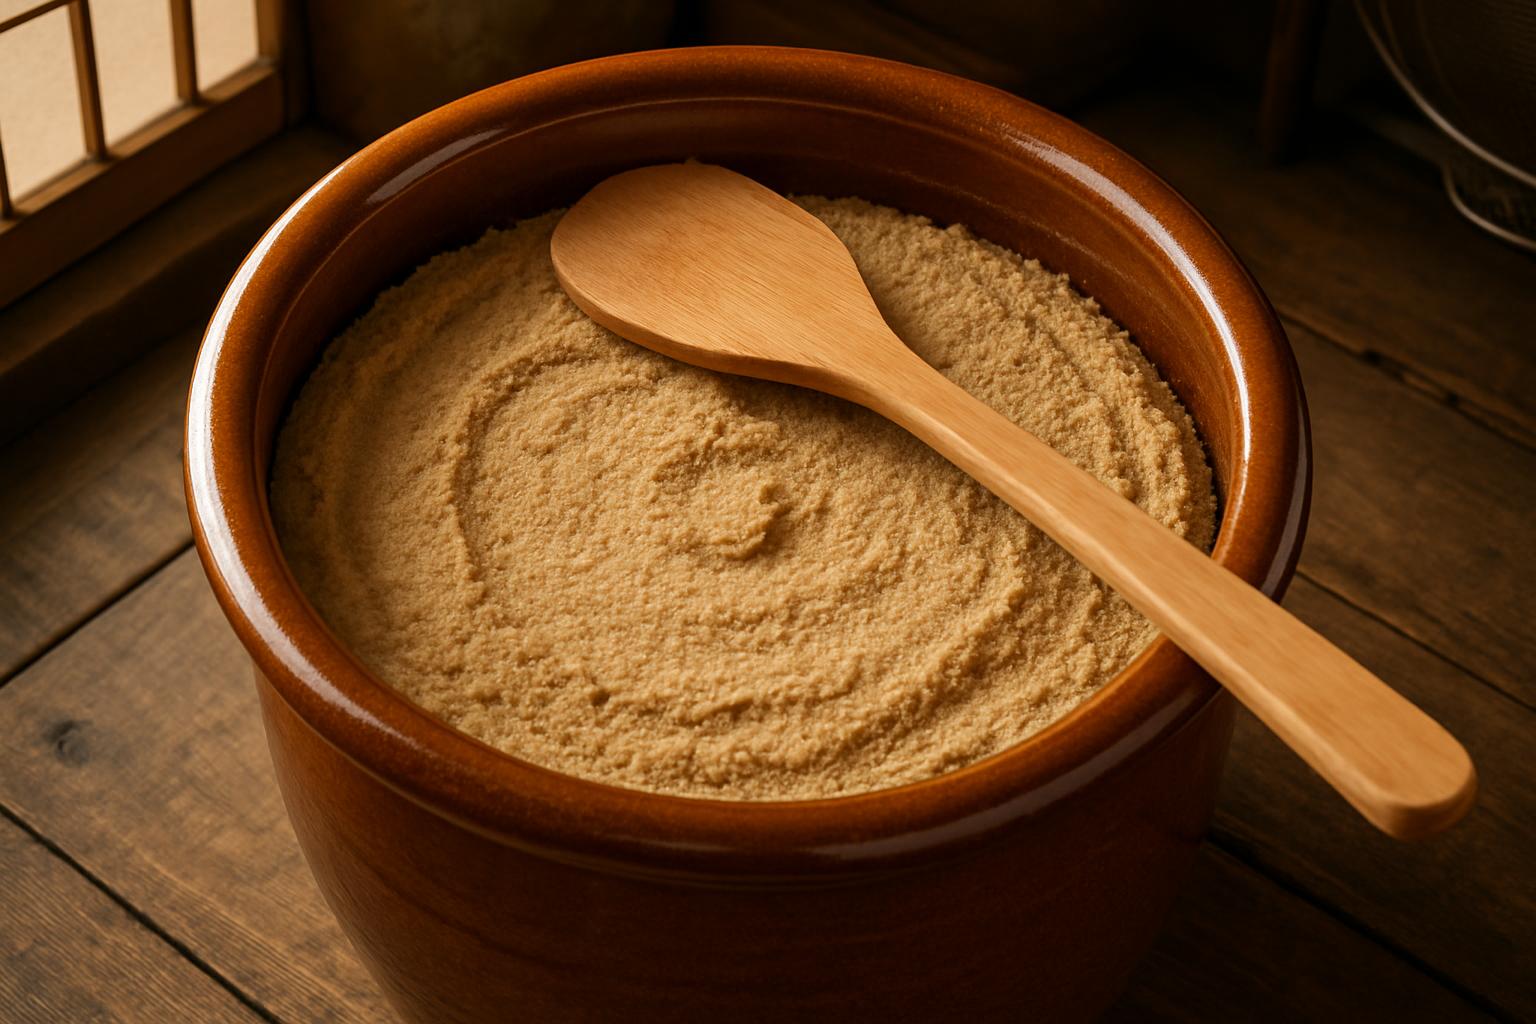
The most important aspect of making nukadoko is choosing the right container. Selecting an appropriate container makes management much easier.
3 Key Points for Container Selection
- Size: 3〜5L (3〜5 quarts) is easy to use (for 5〜6 vegetables)
- Material: Enamel, ceramic, or plastic
- Seal: Not completely airtight, but with moderate breathability
Recommended Container Comparison
| Container Name | Material | Size | Price Range | Features | Rating |
|---|---|---|---|---|---|
| Noda Horo Nukazuke Bijin | Enamel | 3.2L | $30-40 | No odor transfer, easy maintenance | ★★★★★ |
| MUJI Fermented Nukadoko | Plastic | 1kg | $8-10 | Lightweight, beginner-friendly | ★★★★☆ |
| Tokoname-yaki Nukazuke Pot | Ceramic | 4L | $40-50 | Good breathability, for serious practitioners | ★★★★☆ |
My Favorite Container
I’ve been using the Noda Horo Nukazuke Bijin for 3 years. Since it’s enamel, odors don’t stick to it, and it’s easy to clean. The 3.2L size is just right—I can pickle 5〜6 cucumbers at once. I especially recommend it for beginners.
Step-by-Step Instructions
Step 1: Mix Rice Bran and Salt
In a large bowl, combine 1kg of rice bran and 130g of natural salt, mixing well by hand. Mix thoroughly for 3〜5 minutes to ensure the salt is evenly distributed.
Step 2: Add Water and Mix
Add 1.2L of water gradually while mixing. Aim for a consistency similar to miso paste. The ideal texture is one that clumps when squeezed but crumbles when pressed with a finger.
Water Adjustment Tips
The amount of water needs to be adjusted depending on the condition of the rice bran. If the rice bran is dry, add more water. Conversely, if you add too much water, you can adjust by adding a little more rice bran.
Step 3: Transfer to Container and Start “Discard Pickling”
Transfer the mixed nukadoko to your container. Smooth the surface and bury vegetables you can discard, such as outer cabbage leaves or daikon radish peels.
Purpose of Discard Pickling (Sutezuke)
Discard pickling is an important step to increase microorganisms in the nukadoko. The moisture and nutrients from the vegetables allow lactic acid bacteria and yeasts to multiply.
- Duration: 1〜2 weeks
- Vegetables: Outer cabbage leaves, daikon peels, carrot tops, etc.
- Replacement: Replace with fresh vegetables every 2〜3 days
Step 4: Stir Daily
During the discard pickling period, stir thoroughly from the bottom once daily. This supplies oxygen and maintains microbial balance.
After 1〜2 weeks, when the nukadoko starts to smell good, it’s ready.
Daily Management: Tips for Keeping Microorganisms Healthy
Once your nukadoko is ready, all that’s left is daily management. Maintaining an environment where microorganisms can work energetically is the secret to making delicious nukazuke.
Stirring Frequency and Method
The basic rule is once daily, stirring thoroughly from the bottom. Stirring provides the following benefits:
- Oxygen supply: Allows yeasts to work energetically
- Temperature equalization: Stabilizes microbial activity
- Mold prevention: Prevents surface mold
Stirring Technique Tips
- Wash your hands thoroughly to keep them clean
- Mix by scooping up from the bottom in large motions
- Mix for 2〜3 minutes until everything is uniform
- Smooth the surface and wipe off any nuka stuck to the container edges
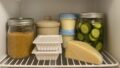
When Away on Vacation
If you refrigerate it, you don’t need to stir for about a week. Microbial activity slows down, so fermentation progresses more slowly.
Adjusting Salt and Water Content
The ideal salt concentration for nukadoko is 10〜13%. If salt is insufficient, harmful bacteria proliferate easily; if too much, lactic acid bacteria activity weakens.
Signs of Insufficient Salt
- Strong sour smell
- Becomes watery
- Strange odor develops
→ Solution: Add 1〜2 tablespoons of salt and mix.
Signs of Excessive Water
- Nukadoko is too loose
- Too much water comes out of vegetables
→ Solution: Absorb moisture with paper towels or add more rice bran.
How to Pickle Vegetables
Pickling Time Guidelines
| Vegetable | Preparation | Pickling Time |
|---|---|---|
| Cucumber | Whole | 12〜18 hours |
| Eggplant | Cut in half | 18〜24 hours |
| Carrot | Cut lengthwise in half | 24〜36 hours |
| Daikon radish | 2cm thick rounds | 24〜36 hours |
| Turnip | Quartered | 18〜24 hours |
Tips for Delicious Pickling
- Salt rub: Lightly rub cucumbers and eggplants with salt before pickling for better flavor absorption
- Bury deeply: Ensure the entire vegetable is buried in the nuka
- Replenish after removal: When you remove vegetables, immediately pickle new ones
Common Troubles and Solutions
When managing nukadoko, troubles occasionally occur. But once you understand the causes, they’re easy to solve.
Trouble 1: Too Sour
Cause: Excessive lactic acid bacteria producing too much lactic acid
Solutions
- Add 1〜2 tablespoons of salt
- Increase stirring frequency (twice daily)
- Add crushed eggshells (well-washed and dried)
Trouble 2: Too Watery
Cause: Excess moisture from vegetables
Solutions
- Absorb moisture with paper towels
- Add 50〜100g of rice bran
- Reduce high-moisture vegetables (cucumbers, tomatoes)
Trouble 3: White Mold Appeared
Cause: Kahm yeast (harmless) proliferating on surface
Solutions
- Remove white portions with a spoon
- Add a little salt
- Stir thoroughly every day
Caution
Blue or black mold is harmful. If it spreads extensively, remake your nukadoko.
Trouble 4: Strange Odor
Cause: Harmful bacteria proliferation or old vegetables remaining
Solutions
- Remove old vegetables
- Add salt
- Add 1 teaspoon of mustard powder (sterilizing effect)
Summary
Anyone can easily start nukadoko with just three ingredients—rice bran, salt, and water—and an appropriate container. Understanding how microorganisms work and enjoying daily management is the secret to making delicious nukazuke.
Key Points from This Article
- Lactic acid bacteria are the stars: They produce lactic acid, creating umami and sourness
- Container selection is important: 3〜5L size, enamel, ceramic, or plastic
- Stir once daily: Thoroughly from the bottom, for 2〜3 minutes
- Salt concentration 10〜13%: Add salt if it becomes too sour
- Troubles are manageable: Easy to solve once you understand the causes
For Those Starting Out
I recommend starting with a smaller container to get accustomed to nukadoko management. The Noda Horo Nukazuke Bijin (3.2L) is easy for beginners to handle and will last a long time.
References
- Koizumi, T. (2018). “Fermentation.” Chuko Shinsho.
- Ishikawa, S. (2020). “The Science of Fermentation.” Kodansha Blue Backs.
- Ministry of Agriculture, Forestry and Fisheries, Japan (2021). “Traditional Japanese Fermented Foods.”
- Brewing Society of Japan (2019). “Brewing Association Journal,” Vol. 114, “Microbiome Analysis of Nukazuke.”
- Tokyo University of Agriculture (2020). “Functional Research on Fermented Foods.” Faculty of Applied Bioscience Research Report.